Turbidimeters
Turbidimeter Calibration
Turbidimeters need to be recalibrated every two months. The calibration kit is located in the AguaClara Lab in Hollister Hall. Perform the following steps to successfully calibrate turbidimeters.
Get the turbidity standards kit from the AguaClara lab in the basement of Hollister Hall.
Wipe down the standards vials with Kim wipes if they have any dust on the outsides of them (the turbidimeters measure turbidity by shining a beam through the vial, so dust, dirt, or scratches messes that up).
Turn on the power strip, and plug in the turbidimeters as necessary.
Turn on the first turbidimeter (pick one).
Remove the top of the turbidimeter (unhook the horizontal pins holding the top of the turbidimeter in place and slide the top of the turbidimeter up and out).
Hit the ‘mode’ button to start calibration.
When the screen displays ‘1000’ next to ‘config’, slide the 1000 NTU standard vial into the top of the turbidimeter and hit the ‘enter’ button (a leftward pointing arrow). Wait as the screen counts down to zero.
When the countdown is done, the screen will flash ‘10’ next to ‘config’. Put the 1000 NTU vial back in the standards kit and slide the 10 NTU standard vial into the turbidimeter. Hit ‘enter’ again and wait for the screen to count down to zero.
Repeat for the 0.2 NTU sample as above. Now the turbidimeter is calibrated.
Turn off the turbidimeter. Repeat steps 4-9 for the remaining turbidimeters.
Turbidimeter Cleaning
Turbidimeters should be emptied and washed out before every experiment. Even if the reading displays 0.0 NTU, there may be clay or flocs that have collected in the top or bottom of the turbidimeter vials. These deposits can interfere with your experimental results, as they can be stirred up again by changes in flow rate.
Cleaning Procedure
Close the valves adjacent to the turbidimeter inlet and outlet so that water does not leak into it while cleaning.

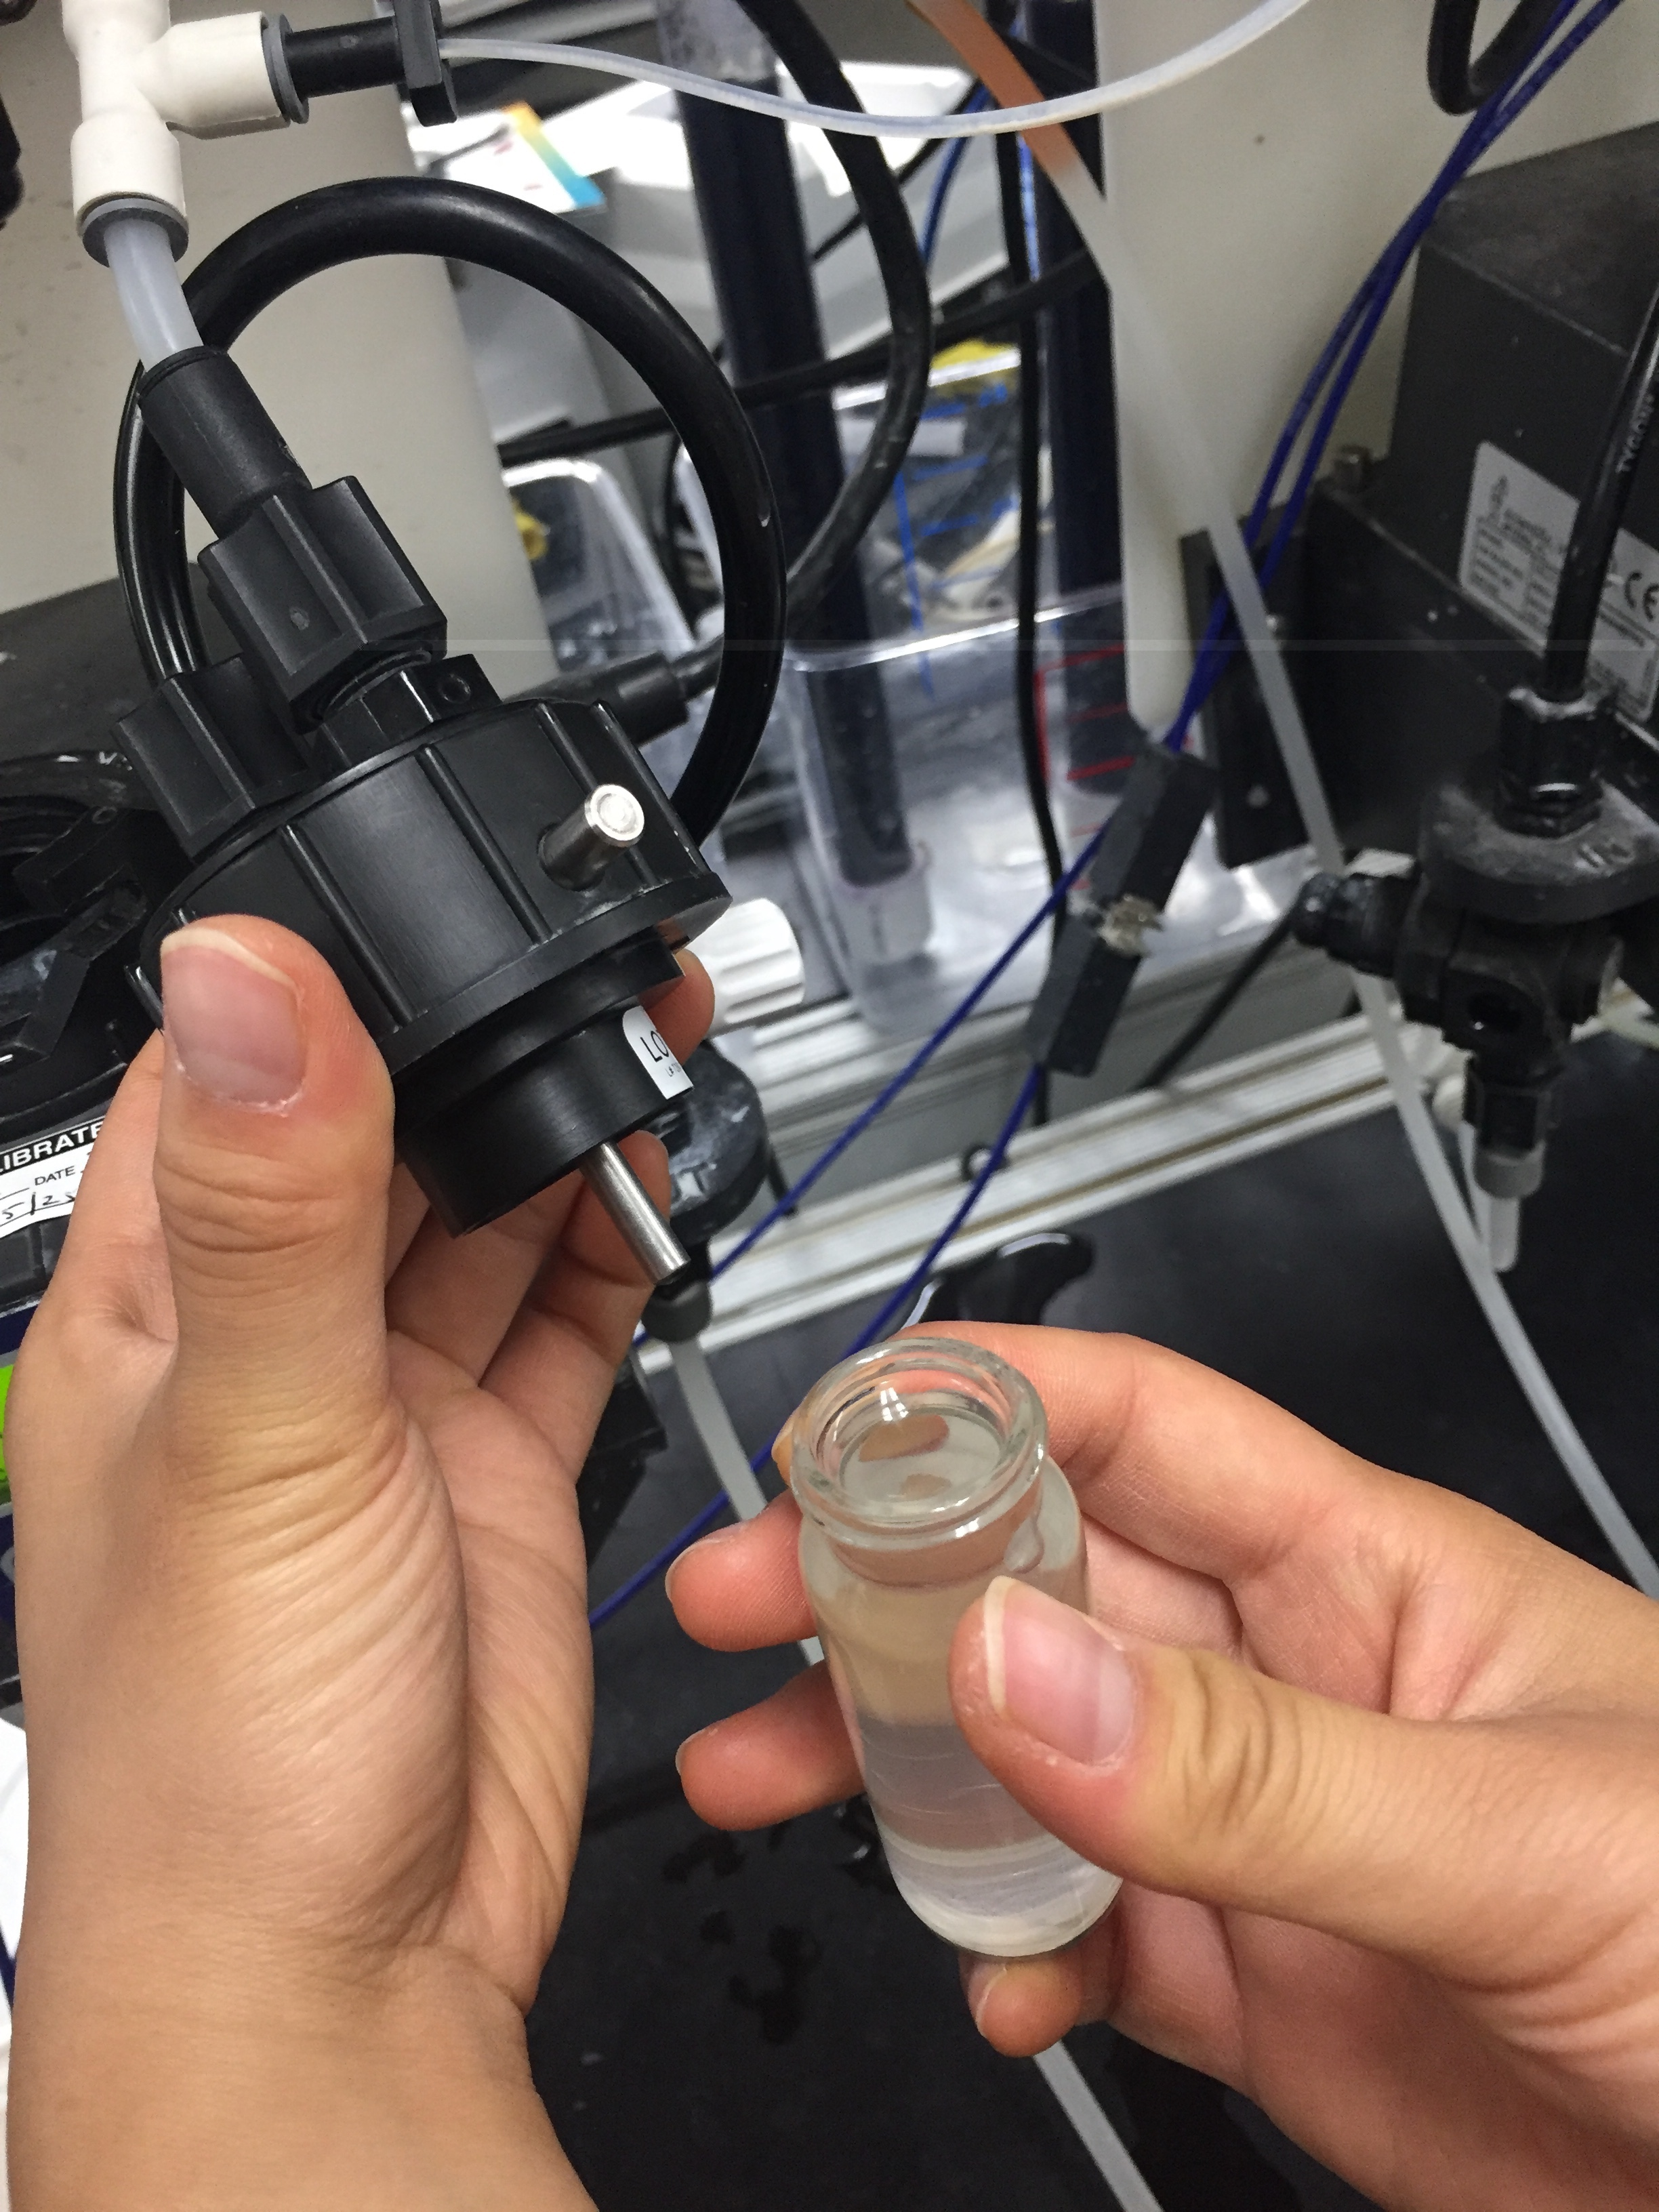
Unlock and take out the black cylinder on top of the turbidimeter.


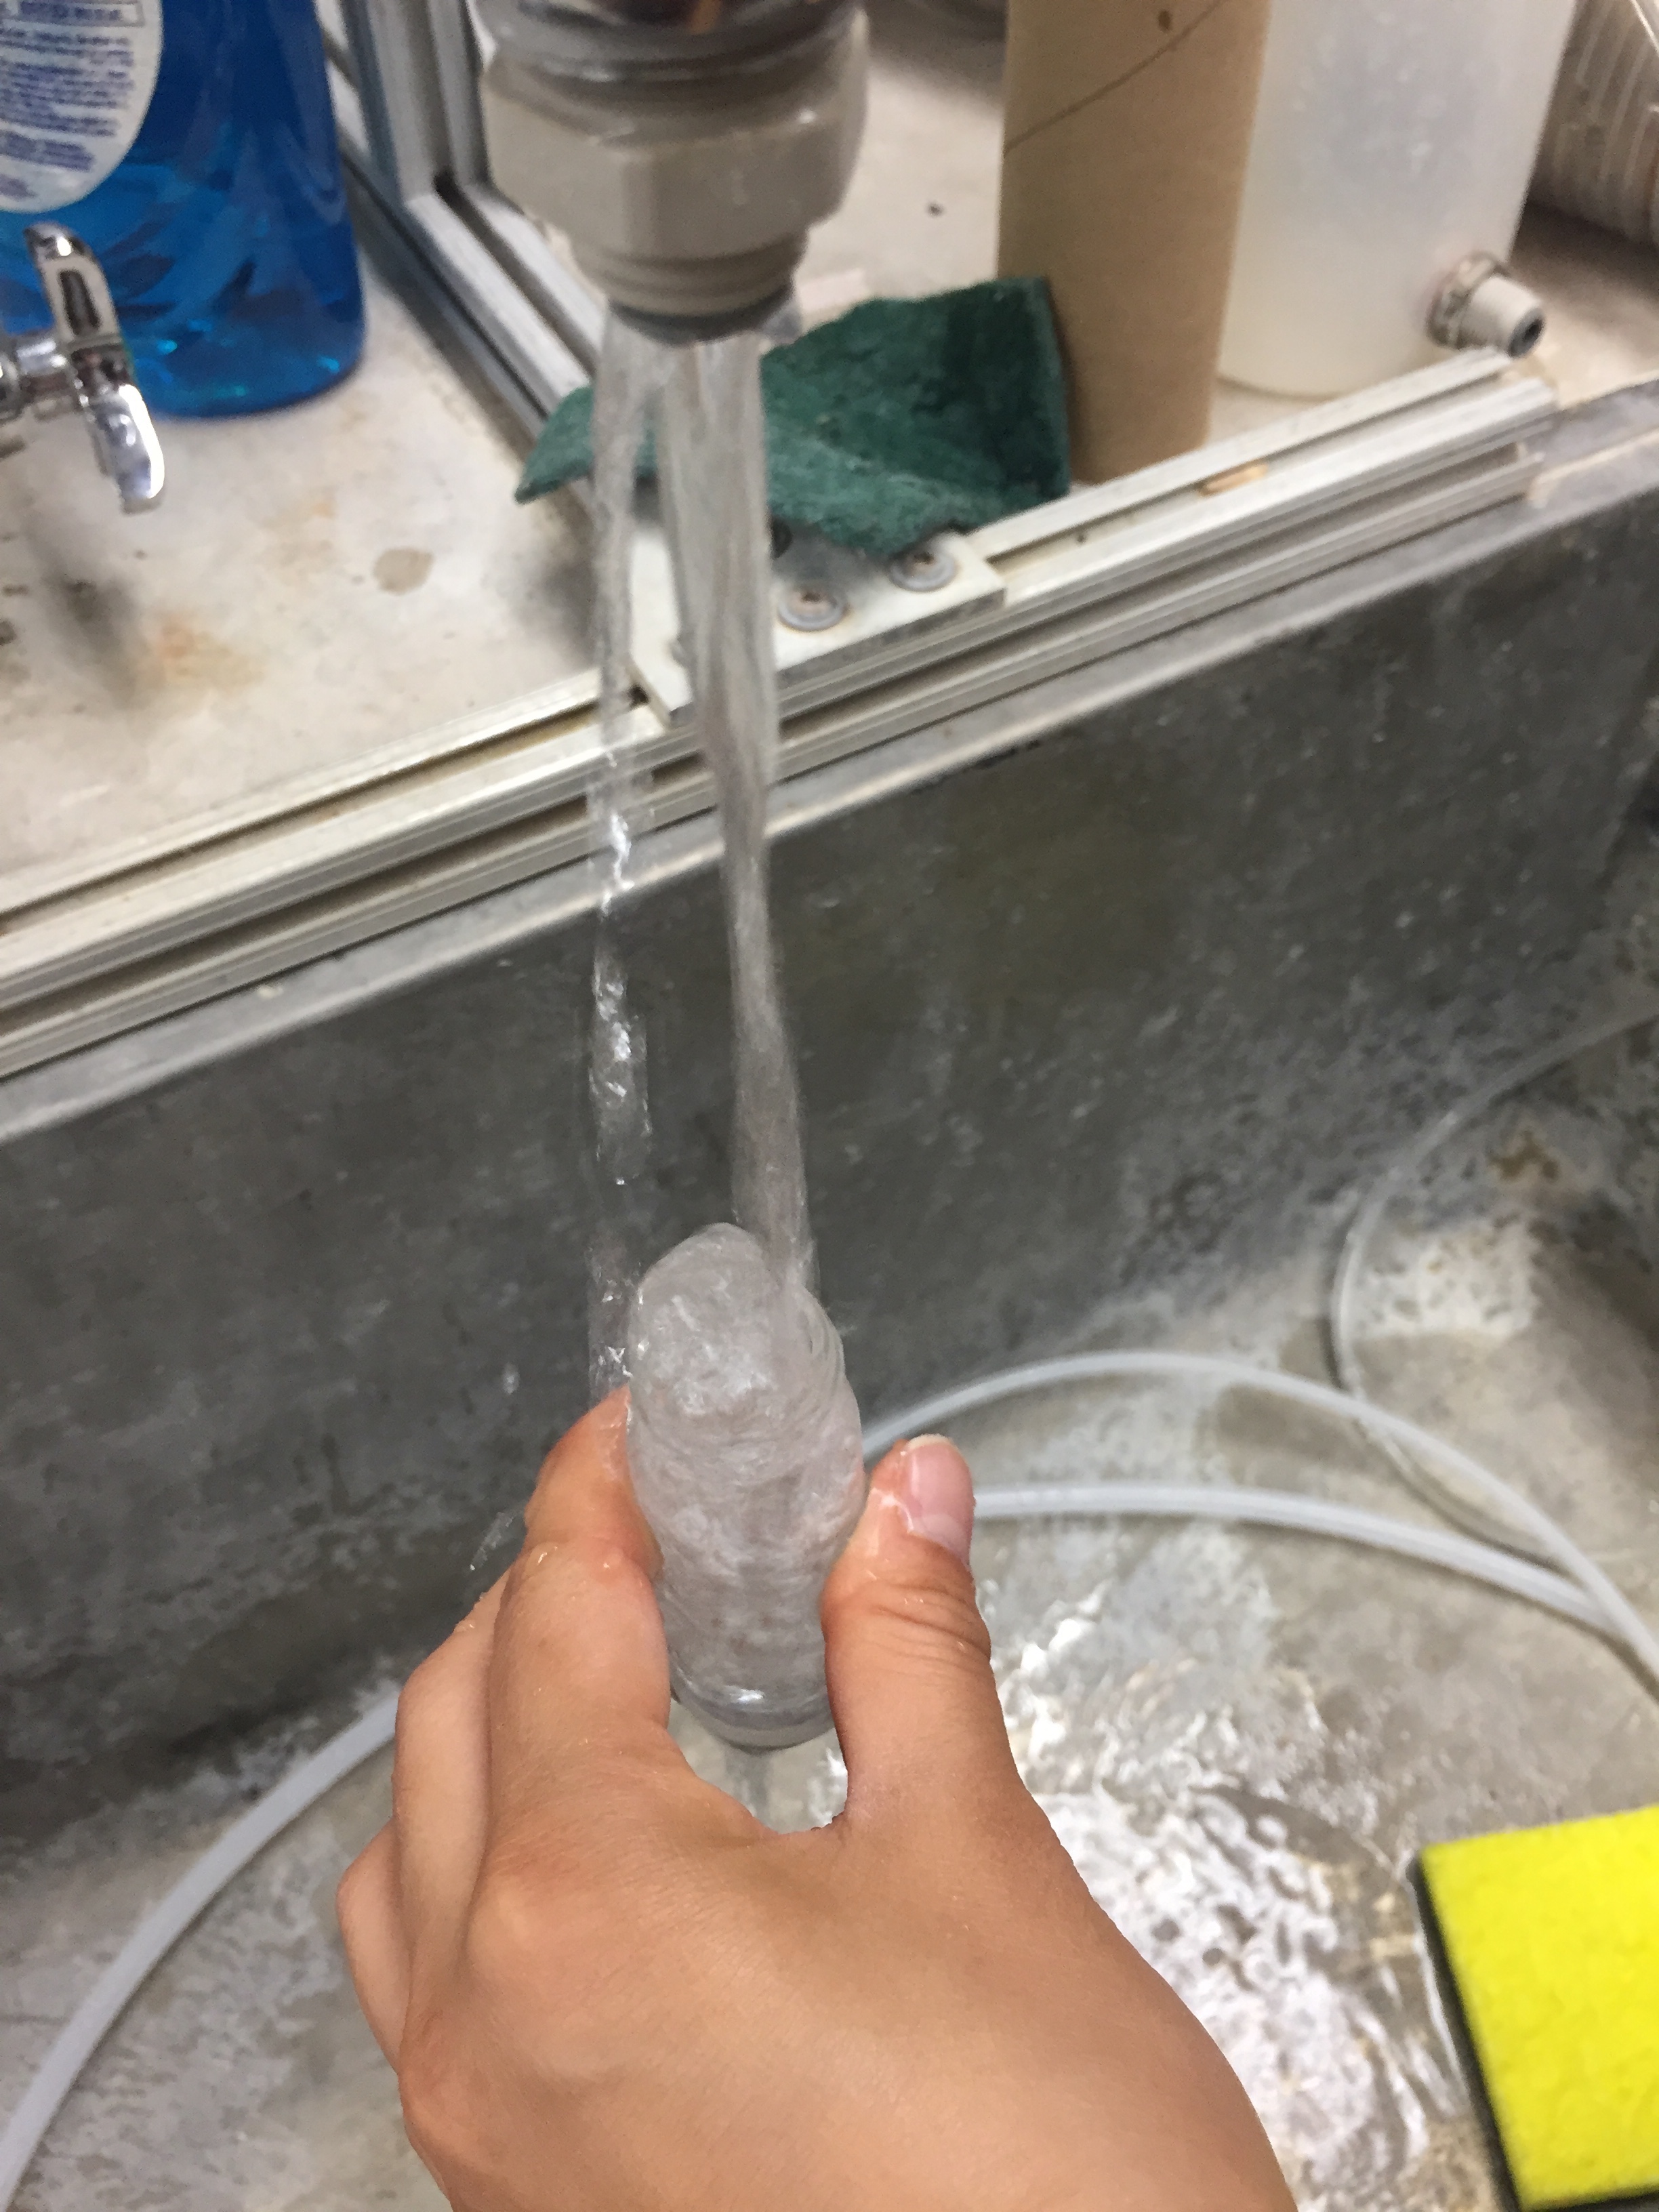
Unscrew the glass vial, empty and rinse it, then fill it with clean water. Tap water is sufficient. If there is still buildup or the glass is dirty wrap two Kim wipes around a brush until it is covered and use that to scrub the inside of the vial.

Tightly screw the vial back in, wipe it with a Kim wipe free from water droplets or fingerprints, and then lock the black cylinder back into the turbidimeter.


If you used the white screws on the outflow turbidimeter tubes to block water passage, remember to unscrew them.
Dessicant Replacement
Turbidimeters need a desiccant to keep their vials dry. A humid chamber can cause condensation on vials, which leads to false readings. If a turbidimeter reads “dessicant”, its dessicant needs to be replaced or regenerated.
Remove the four silver screws at each corner of the top of the turbidimeter.
Lift off the entire top of the turbidimeter, including vial and display, to uncover the dessicant compartment.
Replace the dessicant or regenerate it by heating overnight it in an oven at 100ºF.