Functionality in RST and AguaClara Convention
This file will explain how to use RST functionality including images, tables, code, equations, and both internal and cross-document references. Additionally, this document is intended to define convention for this textbook project. Any syntax included in this document should be used when contributing to the textbook project. If you come across a function for which there is no convention, please edit this file to include it here.
How to use this file:
Open the source code of the file next to the rendered code. The source code is found by clicking “View page source” at the top of the page. Follow along with the source code and rendered code, using the source code as a reference for the proper syntax.
You will often see this format .. word::. The ‘word’ in this case is called a directive. Directives are what RST uses to format text. Directives allow the inclusion of figures, math, tables, references, color, and much more.
You will also often see this format .. _words_separated_by_underscores:. These are called tags, and they exist so that the location of the tag can be referenced during some other section or document in the textbook. They are defined by .. _ at the beginning of the tag and : at the end of the tag. There is convention for how to name tags. So before you go off writing tags all willy-nilly in your textbook documents, read the entirety of this document and use it as your convention bible. For tags and everything else.
Important
Proper indentation and line spacing is extremely important when writing in RST
Headings, Bullet Points, and Numbered Lists
Headings
Headings are defined by an underline and sometimes overline consisting of one of the following characters: *, =, -, ^, and ". RST does not give any particular character hierarchy over another for defining titles, sections, subsections, or so on. The user indicates character hierarchy for headings and can use whatever order they want, and the order can change between documents. However, it is better to stick to the same convention throughout a project. This is the convention for the AguaClara textbook:
* with overline, for document titles
=, for sections
-, for subsections
^, for subsubsections
“, for subsubsubsections
Each title, section and subsection should have a tag before it. Tags for document titles must begin with title and tags for headings must begin with heading. For example, this document’s title tag is title_aguaclara_rst_convention and this heading’s tag is heading_headings_bullets_and_lists. There should always be a blank line between the tag and the actual heading, else references to the tag will not work. For the sake of document readability, include 3 blank lines before the section tag and 2 blank lines before the subsection tag. Lesser headings (subsubsections and beyond) do not need to have tags, and there should be one blank line between lower headings and the preceding content. Here is an example. Note the amount and location of blank lines:
.. _title_example_document_title:

****************
Document Title
****************
Words go here


.. _heading_example_section:

Section
=========
Words also go here


.. _heading_example_subsection:

Subsection
------------
Here too!

Subsubsection
^^^^^^^^^^^^^^
Even more words
Two rules:
If under and overlines are used, their length must be identical
The length of the underline must be at least as long as the title itself.
Lists and Bullets
This section is lifted from this rst cheatsheet. The following code:
* This is a bulleted list.
* It has two items, the second
  item uses two lines. (note the indentation)


#. This is a numbered list.
#. It has two items.
gives:
This is a bulleted list.
It has two items, the second item uses two lines. (note the indentation)
This is a numbered list.
It has two items.
Note
if two lists are separated by a blank line only, then the two lists are not differentiated.
Figures
Every figure should have a tag, alternative text, and a caption. Figure tags must begin with figure. Below, the two figures are labelled figure_fluffy_cat and figure_mountain. The alternative text is a very short description of the figure. A caption is written below all of the figure specifications, with a blank line to separate the specs from the caption.
Use the following syntax for including figures from online sources:
.. _figure_fluffy_cat:

.. figure:: https://www.catster.com/wp-content/uploads/2017/08/A-fluffy-cat-looking-funny-surprised-or-concerned.jpg
    :width: 200px
    :align: center
    :height: 100px
    :alt: external figure

    This is a caption.
Use this syntax for figures located within the /Textbook repository on GitHub:
.. _figure_mountain:

.. figure:: ../Images/mountain.jpg
    :width: 300px
    :align: center
    :alt: internal figure

    Here is a figure tagged ``figure_mountain``. Specify the figure location with folder/image.jpg.
    The base directory for figure location is the directory of the file you are writing.
    In this case, that is Textbook/Textbook_Creation_Help.
Fig. 246 and Fig. 247 are the two figures generated using the code above.

Fig. 246 This is a caption.
See Fig. 247 for a typical mountain view.
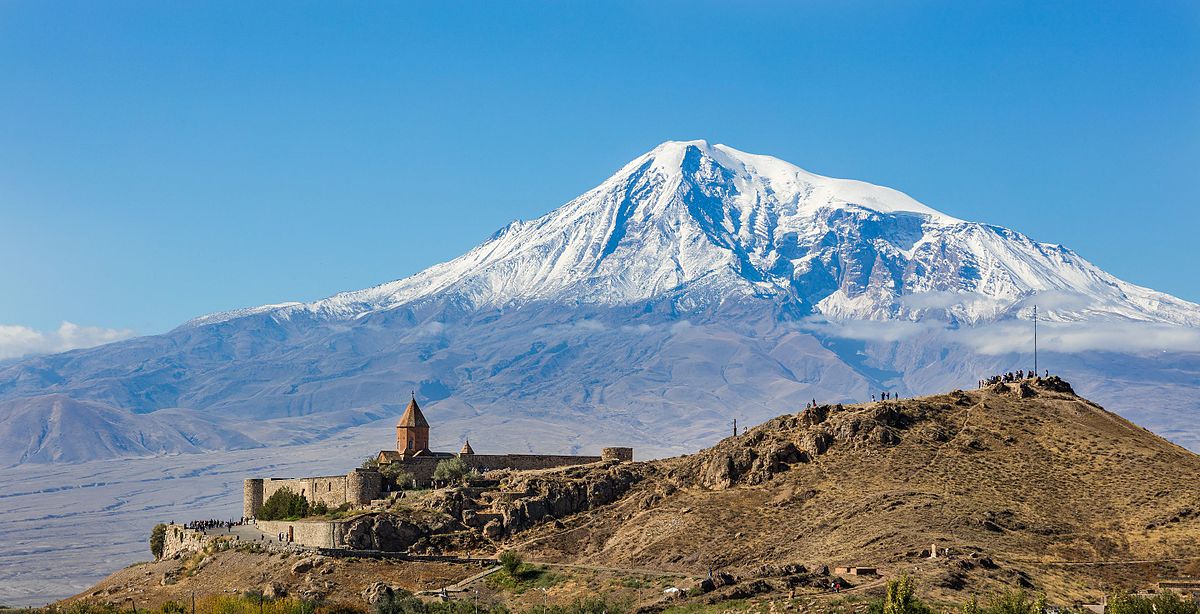
Fig. 247 Here is a figure tagged figure_mountain. Specify the figure location with folder/image.jpg.
The base directory for figure location is the directory of the file you are writing.
In this case, that is Textbook/Textbook_Creation_Help.
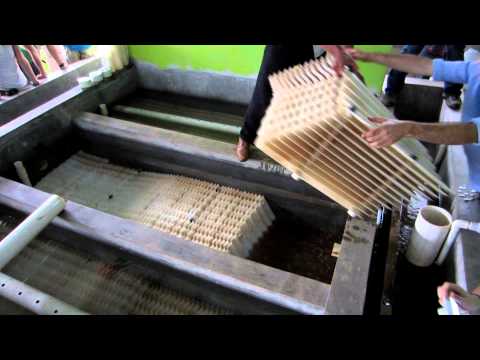
Fig. 248 Plant operator removing plate settlers from an AguaClara clarifier.
Math and Equations
Math is very cool, and works natively in RST using LaTeX math syntax. In-line math can be written with the following syntax: :math:`y = ax^2 + bx + c` which displays \(y = ax^2 + bx + c\). To display equations in their own line, use the following syntax:
.. math::
:label: quadratic_equation

    y = ax^2 + bx + c
Which displays as:
Equations do not have tags, they can be referenced via their labels, as you can see above. Equation labels don’t need to begin with any particular word, unlike tags. Not every equation needs a label. Only label equations that you need to reference. If you need to reference an equation that does not have a label, give it an intuitive one. All equations are numbered, regardless of whether or not they are labelled. Complex equations can be generated as well, since RST uses LaTeX math.
\[n_{\rm{offset}} = \sum_{k=0}^{N-1} \frac{s_k}{n_k} \ln \left( \frac{k}{k!} \right)\]
When introducing a new equation, Make sure to specify what the parameters in the equation mean. Once the equation has been introduced, its parameters do not need to be explained when displayed in the future. Use the following syntax for introducing equations:
.. math::
:label: continuity_equation_example

 \bar v_1 \frac{\pi D_1^2}{4} = \bar v_2 \frac{\pi D_2^2}{4}

| Such that:
| :math:`Q =` fluid flow rate
| :math:`\bar v =` fluid average velocity
| :math:`A =` pipe area
| :math:`r =` pipe radius
| :math:`D =` pipe diameter
Tables
Tables should be made using csv for compatibility with excel:
.. _table_an_example_table:

.. csv-table:: This table has a title
   :header: "name", "firstname", "age"
   :widths: 20, 20, 10
   :align: center

   "Smith", "John", 40
   "Smith", "John, Junior", 20
The code block above generates the following table:
name |
firstname |
age |
|---|---|---|
Smith |
John |
40 |
Smith |
John, Junior |
20 |
Every table should have a tag, shown in the example above as table_an_example_table. A table’s tag must begin with table
Links and References
Links
Links are fairly straightforward, use the following syntax, `hyperlink word display <https://www.aguaclarareach.org/>`_, and look like this hyperlink word display. If you will be using the same link many times in a document, you can place this line at the end of the document:
.. _AguaClara: http://aguaclaraReach.org/
Now, the syntax AguaClara_ will link to the specified site: AguaClara
References
References work by calling any “target”- either tags (titles, headings, figures, and tables) or labels (equations). These reference formats work internally- calling something within the same document and externally- calling content in some other document within this same project.
Important
Before you start tagging and labelling content with any degree of willy-nilly-ness, make sure that you are not repeating tags or labels. You can check to see if your tag or label is taken by visiting libraries on GitHub. Check here for tags and labels:.
Document Titles and Headings
This content should be called with the :ref:`tag` functionality. You can also choose what text will be shown. For example, :ref:`This text <heading_links_and_references>` gives This text.
Figures and Tables
These can be referenced in the exact same way as titles and headings. However, they can also be referenced using the :numref:`tag` syntax. When this is done, there cannot be text written that will link to the figure. Instead, what shows up is ‘Fig. 3’ or ‘Table 3’.
Equations
Equations are a little different, :ref:`label` does not work. They are instead called with the :eq:`label` syntax. You cannot choose what text displays in the reference like you can with titles, headings, figures, and tables. Whenever you reference an equation, parentheses surrounding the equation’s number will be the linked-text.
Equations:
:eq:`quadratic_equation`only generates a number in parentheses. Thus, this reference is usually preceeded by the word: ‘equation.’ Like this: Equation (391).
Citations
Heavily used this reference
Parenthetical referencing can be produced in Sphinx using the sphinxcontrib-bibtex extension.
The sphinxcontrib-bibtex extension allows BibTeX citations to be inserted into documentation generated by Sphinx.
The extension defines a new bibliography directive and a new cite role.
These work similarly to the LaTeX’s thebibliography environment and \cite
command.
The references are stored in a separate plain text BibTeX format file.
Currently, only the unsrt and plain BibTeX styles are supported.
Additionally, PDFs of sources are stored in the “_static/references” folder, which then uses internal links, ensures we never lose access, and keeps everything in one place.
Example
Within the body of the document, use the following syntax:
See :cite:`ex-Strunk1979` for an introduction to stylish blah, blah...
And place the directive at the very end of the document:
.. bibliography:: /references.bib
   :cited:
   :keyprefix: ex-
The “keyprefix” should be related to the type of document. For example, when within flocculator_design documents, the keyprefix should be floc_design- and all citations should be prefixed with floc_design, and on this example page is “ex”. Every page will require its own keyprefix which prevents confusion of repeat citations in Travis.
The references.bib file should contain a BibTex bibliography,
including an entry for:
@BOOK{Strunk1979,
  title = {The Elements of Style},
  publisher = {Macmillan},
  year = {1979},
  author = {Strunk, Jr., William and E. B. White},
  edition = {Third}
}
A working example: [SW79].
Writing Code Blocks (not actual, executable code)
You can write code in-line or as a code block. Note that these ways of showing code only display code, they do not generate a code block that actually runs. There are two ways of doing each. For in-line code, use ``this syntax`` or :code:`this syntax`. For code blocks, use this syntax:
.. code::

  This is my code block.
Or this syntax:
This two colons at the end of this line indicate that the text below, which is separated by a blank line and indented, is a code block::

  This is my code block.
Inserting Video
To insert a video and use it like a figure, take an instructive snapshot of the video. Save that as an image, and create a figure linking to that image. Then, make the video open when the video is clicked on by setting the video url as the “target” for the image. To indicate it is a video, include the play bar. Here is the relevant code:
.. figure:: ../Images/Floc_Filter_Floc_Hopper.png
   :target: https://www.youtube.com/watch?v=Xp8ygnIOgi0

   This is a floc filter forming
And here is a working example:

Fig. 249 This is a floc filter forming
Assorted Other Conventions
William Strunk, Jr. and E. B. White. The Elements of Style. Macmillan, third edition, 1979.